A Bathroom Cleaning Routine with Separate Cloths and a Dry Finish
Bathroom cleaning is easier when the sequence keeps toilet tools separate, respects product instructions and finishes with drying. Clear the surfaces first so cleaning time goes into sinks, fixtures and the floor rather than moving toiletries repeatedly.
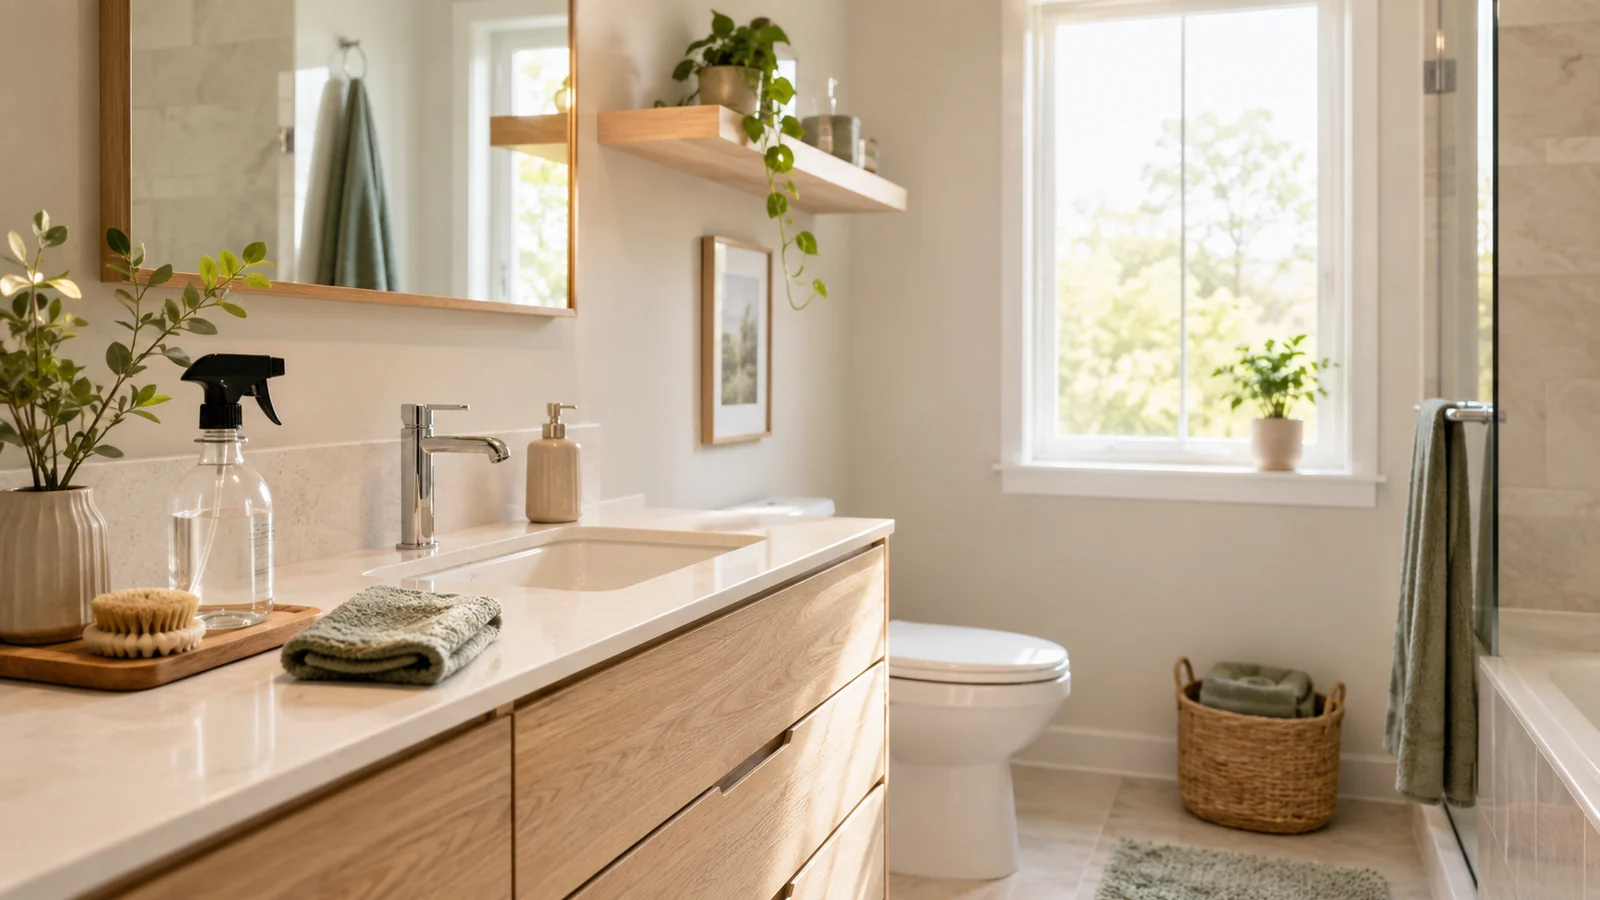
Bathroom cleaning is easier when the sequence keeps toilet tools separate, respects product instructions and finishes with drying. Clear the surfaces first so cleaning time goes into sinks, fixtures and the floor rather than moving toiletries repeatedly.
Separate the bathroom’s cleaning zones
| Zone | Tool arrangement | Completion check |
|---|---|---|
| Mirror and vanity | A clean cloth suitable for the finish | Products returned and splashes removed |
| Shower or bath | Surface-compatible tools and cleaner | Residue rinsed or removed as directed |
| Toilet | Dedicated tools kept apart from vanity cloths | Tools and supplies stored appropriately |
| Floor | Finish after the higher surfaces | Wet areas dry enough for safe access |
Gather a Small Bathroom Cleaning Kit
- Microfiber cloths
- Bathroom-safe cleaner
- Glass or mirror cleaner
- Toilet brush and appropriate toilet cleaner
- Non-scratch sponge or brush
- Trash bag
- Broom, vacuum, or mop as needed
Keeping these supplies together reduces wasted time and makes it easier to repeat the routine.
Step 1: Ventilate the Room
Open a window or use the bathroom exhaust fan when appropriate. Good ventilation helps the room dry after cleaning and is especially important when using cleaning products.
Step 2: Remove Clutter and Laundry
Put toiletries back in their normal places, move dirty towels to the hamper, empty the trash, and clear the counter. Cleaning around bottles and loose items takes longer than clearing the surface first.
Step 3: Apply Cleaner Where It Needs Contact Time
Apply the appropriate product to the toilet, shower, tub, or other areas that need a few minutes of contact time. Follow label directions and never mix cleaning products unless the manufacturer explicitly says it is safe.
Step 4: Clean the Mirror
Wipe the mirror from top to bottom using a clean cloth. A quick mirror clean has a large visual effect because water spots and fingerprints are easy to notice.
Step 5: Clean the Sink and Counter
Wipe the faucet, basin, counter, soap area, and frequently touched surfaces. Pay attention to the edges around the faucet where water and residue can collect.
Step 6: Clean the Toilet
Clean the bowl according to the product directions, then wipe the exterior surfaces, handle, seat, and surrounding area with an appropriate cleaner and cloth.
Step 7: Clean the Shower or Tub
Wipe or scrub the areas that need attention, including fixtures, ledges, and visible soap residue. Rinse when required by the product directions. Regular light cleaning is usually easier than waiting for heavy buildup.
Step 8: Check Towels and Bath Mats
Replace damp or used towels as needed and wash bath mats on a schedule that suits the household and the care label. Fabrics that stay damp can make a bathroom feel less fresh.
Step 9: Sweep or Vacuum the Floor
Remove hair, dust, and loose debris before mopping. Clean around the toilet, vanity, and corners where debris tends to collect.
Step 10: Mop Last
Mop only after the rest of the room is finished so you do not walk over a freshly cleaned floor. Use a product that is suitable for your flooring material.
A 10-Minute Bathroom Reset
- Put products away.
- Wipe mirror and sink.
- Refresh the toilet.
- Replace damp towels.
- Quickly clean the floor if needed.
Weekly vs. Deeper Cleaning
A weekly routine can handle visible surfaces and high-use areas. Deeper tasks—such as detailed grout cleaning, exhaust-fan cleaning, or removing heavier mineral buildup—can be scheduled separately when needed.
How to Keep the Bathroom Cleaner Between Sessions
- Hang towels so they can dry fully.
- Wipe obvious sink splashes when you notice them.
- Keep the counter mostly clear.
- Run ventilation after showers when appropriate.
- Return toiletries to their storage spot.
Frequently Asked Questions
What should I clean first in a bathroom?
Start by clearing clutter and applying products that need contact time. Then work from mirrors and counters toward the toilet, shower, and floor.
How often should a bathroom be cleaned?
Frequency depends on household size and use. Small resets can happen several times a week, while a more complete clean may be scheduled weekly or as needed.
Check what the surface allows
Glass, coated fixtures, natural stone and grout can need different methods. Match the product to the material rather than treating the whole room as one surface. Use one cleaning product at a time and follow its ventilation, rinsing and contact-time instructions.
After replacing towels, spread them so they can dry. A bathroom that is clean but remains wet can still develop moisture problems. If water repeatedly returns to the same cabinet or corner, record it and investigate the source as a separate maintenance job.
Sources and further guidance
Browse more practical Tidy Home Lab guides for this part of your home.
Explore Cleaning →Related Guides