Clean a Microwave Safely: Protect the Turntable, Coatings and Openings
Microwave cleaning should protect its coating, door area and electrical openings. Remove loose debris and use a permitted gentle method for dried food. If you choose a manufacturer-approved steam-cleaning option, keep the required parts installed during heating.
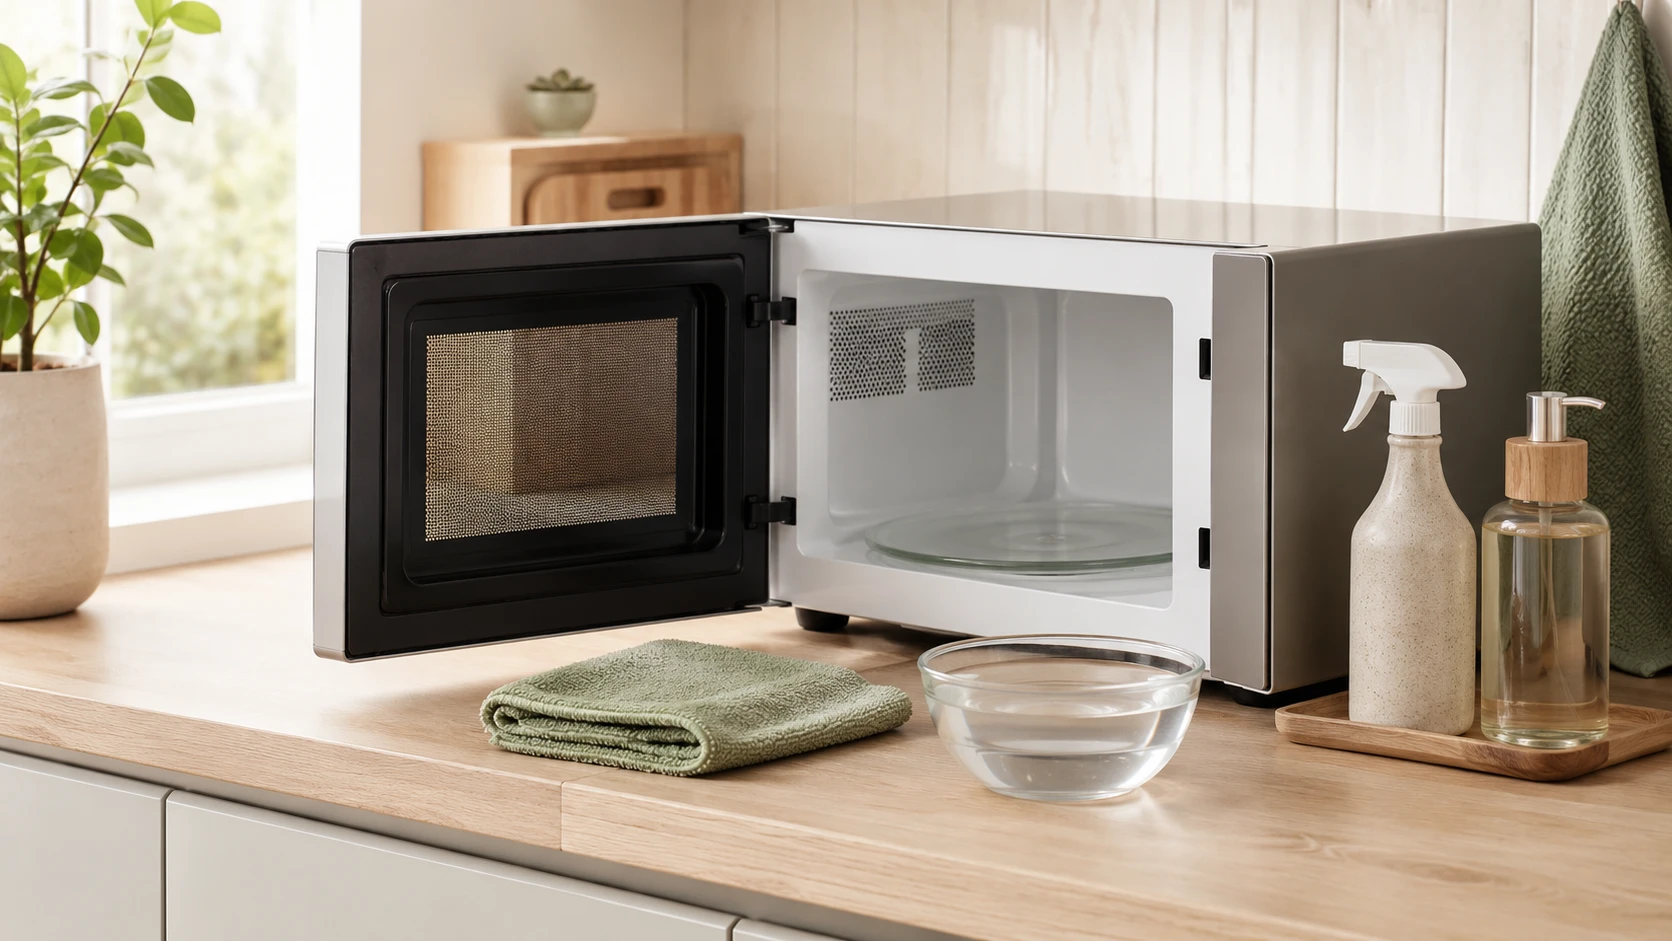
Microwave cleaning should protect its coating, door area and electrical openings. Remove loose debris and use a permitted gentle method for dried food. If you choose a manufacturer-approved steam-cleaning option, keep the required parts installed during heating.
Choose the method before removing components
| Task | Decision | Important check |
|---|---|---|
| Loose crumbs | Remove with an appropriate dry method | Follow guidance on removable parts |
| Dried splashes | Use a permitted damp-cloth or steam-cleaning process | Required turntable and supports are in place before heating |
| Turntable washing | Follow the part’s care instructions | Avoid sudden temperature changes to glass |
| Controls and vents | Careful external wiping | Keep liquid out of openings |
What You Need
- Microfiber cloths
- Warm water
- Mild dish soap
- A microwave-safe bowl
- A soft sponge
- A dry towel
Step 1: Remove Loose Crumbs
Take out the turntable and support ring if they are removable. Wipe or brush loose crumbs from the microwave floor before adding moisture.
Step 2: Soften Dried Food Residue
Use a lightly damp cloth to soften residue when permitted. If your model provides an approved steam-cleaning process, follow that exact process: reinstall every component required for operation, including the turntable where specified, before heating. Use a suitable microwave-safe container and follow the required cooling and safe-handling instructions. Never operate the microwave with required parts removed.
Step 3: Wipe the Interior
Use a damp microfiber cloth or soft sponge to wipe the ceiling, side walls, back, and floor. Start with the least dirty areas and finish with the heaviest splatters.
Step 4: Wash the Turntable
Wash the turntable and support ring with a method approved by the manufacturer. Avoid sudden temperature changes with glass components, and dry the pieces before returning them.
Step 5: Clean the Door and Seal Area
Wipe the inside of the door, the door edge, and the surrounding frame. Keep the area clean so the door can close normally. Do not damage or aggressively scrub seals or mesh components.
Step 6: Wipe the Exterior
Clean the handle and exterior controls with a lightly damp cloth. Never spray liquid directly into the control panel or ventilation openings.
Step 7: Dry Before Use
Dry the interior and reinstall the turntable. Leave the door open briefly if appropriate so remaining moisture can evaporate.
How to Reduce Future Splatter
- Cover food with a microwave-safe cover when appropriate.
- Wipe fresh splashes before they dry.
- Use containers large enough to reduce boil-over.
- Add the microwave to your normal kitchen cleaning routine.
Common Mistakes
- Using abrasive pads on interior coatings
- Spraying cleaner directly into vents or controls
- Ignoring the underside of the turntable
- Using products that are not appropriate for food-contact appliances
- Trying to scrape residue with sharp tools
Reassemble before the next use
Dry permitted removable components and return them to their correct positions. Check that the door closes normally and that no cloth or cleaning tool remains inside. Stop using the appliance and seek appropriate help if the door, seal or interior is damaged.
Steam methods vary by model, so the manual decides the water quantity, cycle and handling. Never substitute a universal heating time. Hot containers and steam can burn; follow the appliance’s cooling and safe-removal instructions before wiping the softened residue.
Sources and further guidance
Browse more practical Tidy Home Lab guides for this part of your home.
Explore Cleaning →Related Guides