How to Clean a Kitchen: Follow the Food, Surface and Floor Route
Kitchen cleaning becomes easier when you clear food and dishes first, clean the surfaces they used and finish with the floor. Choose products for the actual materials in your kitchen and keep cleaning cloths separate from dish-handling tasks.
Kitchen cleaning becomes easier when you clear food and dishes first, clean the surfaces they used and finish with the floor. Choose products for the actual materials in your kitchen and keep cleaning cloths separate from dish-handling tasks.
Decide which kitchen job is in front of you
| What you see | Start here | Material check |
|---|---|---|
| Crumbs and ordinary spills | Remove loose dirt, then clean the surface | Countertop care instructions |
| Dried grease on a cooled cooking surface | Use the appliance-approved cleaning method | Glass, enamel and specialty coatings differ |
| Food-contact contamination | Clean first and follow appropriate sanitizing guidance | Product suitability and required rinsing |
| Appliance smell or an unexplained puddle | Find the source and inspect accessible areas | Manual and service guidance |
Before You Start: Gather Basic Supplies
You do not need a complicated cleaning kit. For most routine kitchen cleaning, a few basics are enough:
- Microfiber cloths
- Dish soap
- All-purpose cleaner that is suitable for your surfaces
- Sponge or non-scratch scrubber
- Trash bag
- Broom, vacuum, or dust mop
- Mop if needed
Always follow the care instructions for your countertops, appliances, flooring, and specialty finishes.
Step 1: Clear the Counters
Start by removing anything that does not belong on the main work surfaces. Throw away trash, put food away, and move small appliances or loose items only if needed for cleaning.
A clear counter immediately makes the room feel more manageable and gives you room to work.
Step 2: Load or Wash Dishes
Before cleaning surfaces, deal with dishes so the sink area is easier to reach. Load the dishwasher, wash a small batch of dishes, or stack them neatly if you are cleaning in stages.
If dishes are left in the way, it becomes harder to clean the sink and wipe nearby surfaces properly.
Step 3: Put Away Food and Wipe Spills
Check open food containers, leftovers, and pantry items that were left out. Return them to the refrigerator, cabinet, or pantry.
Then wipe obvious sticky spills or crumbs so they do not spread while you continue cleaning.
Step 4: Clean the Stovetop
The stovetop usually needs attention early because it often collects grease and food residue. Make sure the surface is cool, then wipe away loose crumbs. Use a cleaner and method appropriate for the type of stovetop you have.
Do not use abrasive tools on delicate finishes unless the manufacturer specifically recommends them.
Step 5: Wipe Small Appliances and Frequently Touched Surfaces
Quickly wipe the outside of items such as the microwave, toaster, coffee maker, and kettle if they are kept on the counter.
Also clean frequently touched spots like cabinet handles, refrigerator handles, and the light switch area if needed.
Step 6: Clean the Sink
Once dishes are out of the way, wash the sink basin, drain area, faucet, and surrounding edges. Rinse thoroughly and wipe dry if you want a cleaner finish.
The sink is often one of the last major surfaces to be cleaned because it may be used while you are cleaning the rest of the room.
Step 7: Wipe the Counters and Backsplash
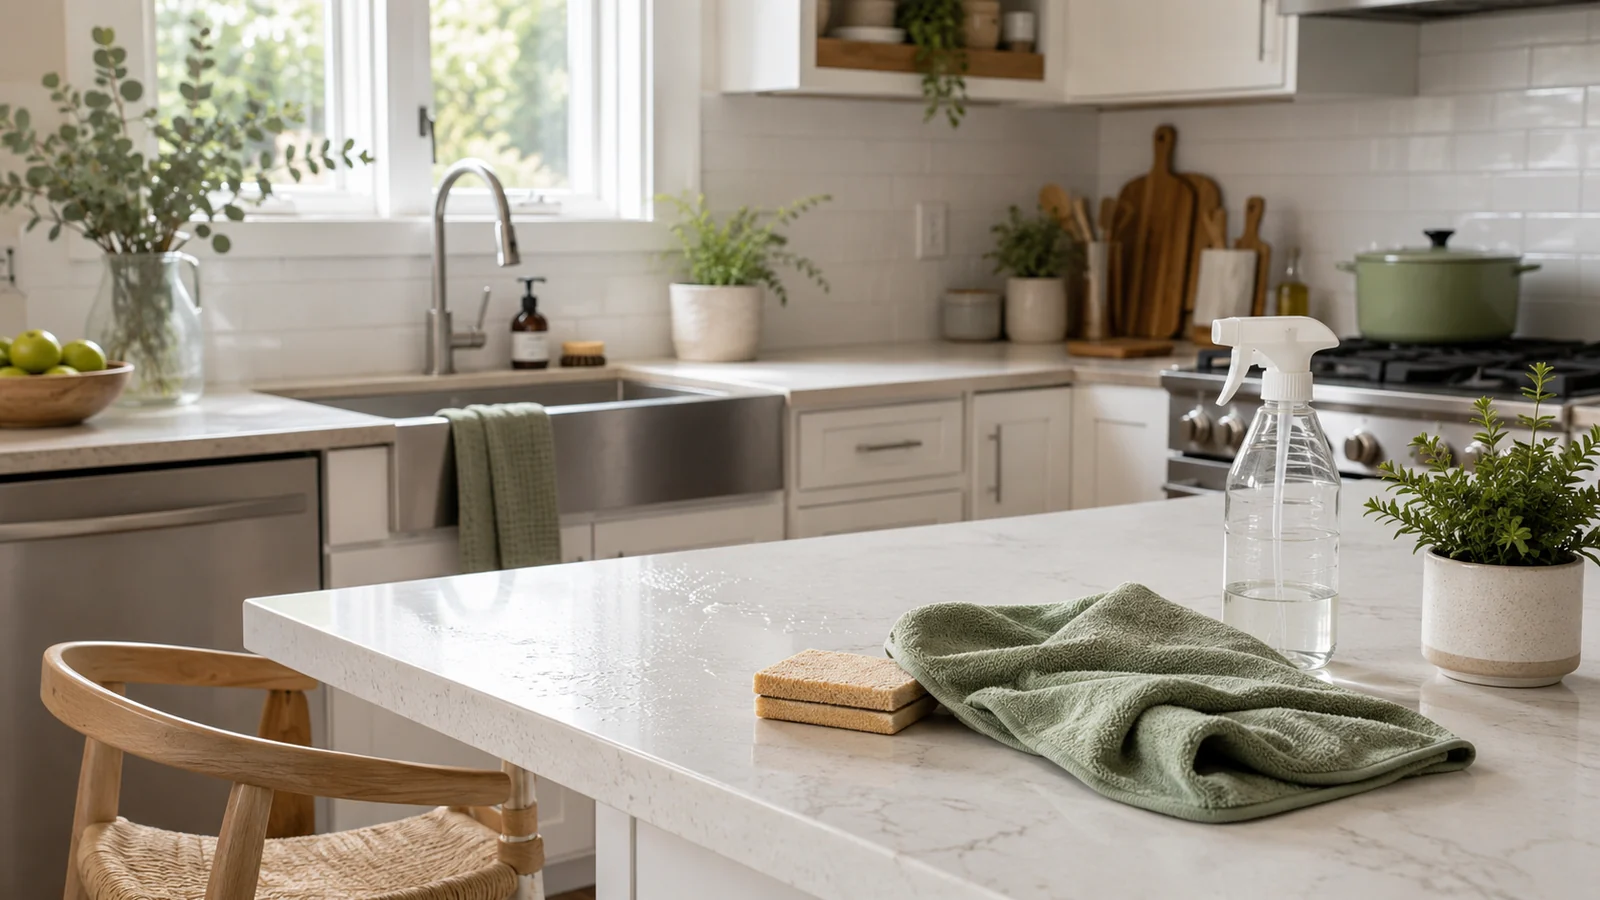
Now wipe the counters more thoroughly from one side to the other. If your backsplash has visible splashes, wipe that at the same time.
Work from higher surfaces to lower ones so debris does not fall onto areas you already cleaned.
Step 8: Clean the Table or Dining Nook
If your kitchen includes a small table, island seating area, or breakfast nook, clear and wipe that surface too. These spots collect crumbs and papers easily, even when the main kitchen looks fairly clean.
Step 9: Check the Refrigerator Front and Cabinet Doors
Fingerprints, splashes, and smudges often appear on the refrigerator front and cabinet doors. Wipe what is visible so the room looks fully refreshed.
You do not need to deep-clean every door every time, but spot-cleaning visible marks makes a noticeable difference.
Step 10: Sweep or Vacuum the Floor
After all surface cleaning is finished, clean the floor. Start by sweeping or vacuuming crumbs and debris, especially around the sink, stove, and trash area.
Step 11: Mop If Needed
If the floor is sticky, stained, or visibly dirty, mop using a product suitable for that flooring material. Routine mopping may not be necessary every single day, but it is helpful whenever spills or grease are present.
A Quick 10-Minute Kitchen Cleaning Version
When you do not have time for a full clean, focus on the highest-impact tasks:
- Clear counters
- Load or stack dishes
- Wipe the sink area
- Wipe the main counter
- Sweep obvious crumbs
Common Kitchen Cleaning Mistakes
- Cleaning around clutter instead of removing it first
- Trying to mop before sweeping
- Using products that are not suitable for the surface
- Skipping the sink until it becomes harder to clean
- Leaving food and crumbs that attract odors or pests
How Often Should You Clean a Kitchen?
Small kitchen resets can happen daily, while deeper cleaning tasks may be done weekly or as needed. The more often you do a quick clean, the less overwhelming the room feels later.
Keep cloths and products moving in one direction
Use clean cloth faces as you move through the room. A cloth used on a dirty floor or waste bin should not return to a food-preparation surface. Apply products and allow their labeled time before wiping; avoid mixing cleaning chemicals.
Routine cleaning and a contamination response have different requirements. For surfaces touched by raw meat or its juices, consult food-safety guidance and the product label. The steps below describe the everyday kitchen route; follow the relevant guidance whenever an additional sanitizing step is needed.
Sources and further guidance
Browse more practical Tidy Home Lab guides for this part of your home.
Explore Cleaning →Related Guides