How to Clean a Refrigerator While Keeping Food Properly Stored
Refrigerator cleaning needs a food-storage plan as well as cloths and cleaner. Choose one manageable section, protect perishable food while it is out and use methods suited to your refrigerator's shelves, drawers and finish.
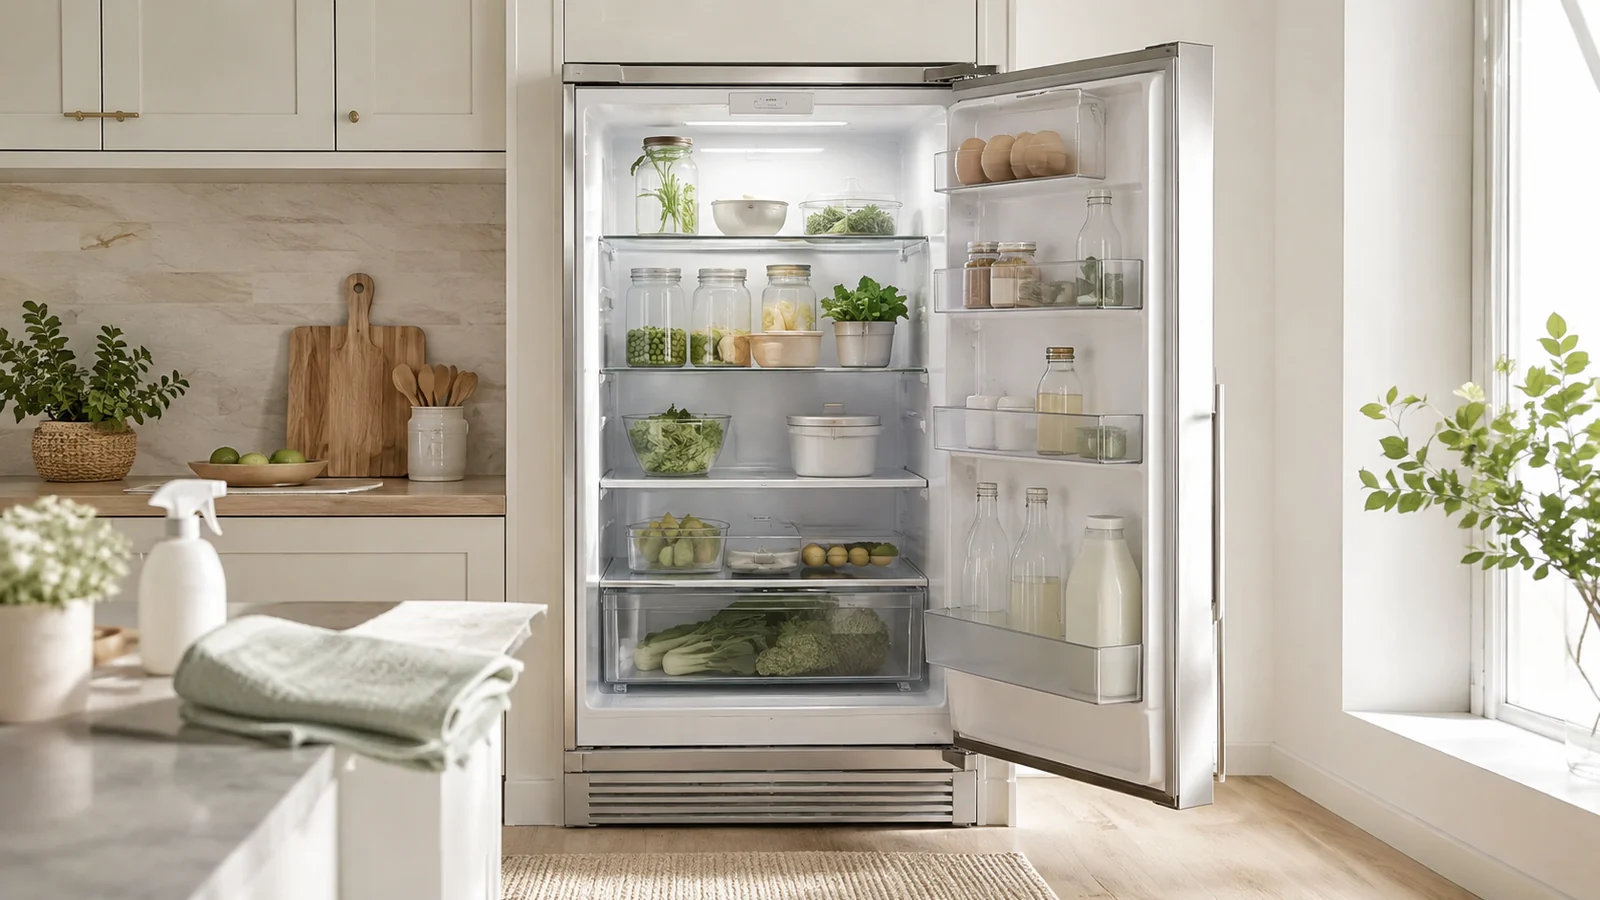
Refrigerator cleaning needs a food-storage plan as well as cloths and cleaner. Choose one manageable section, protect perishable food while it is out and use methods suited to your refrigerator’s shelves, drawers and finish.
Decide how much you can empty at once
| Cleaning scope | Food arrangement | Part-care check |
|---|---|---|
| One small spill | Move nearby items into suitable cold storage | Clean the affected surface without spreading the spill |
| One shelf or drawer | Keep perishables properly chilled during the work | Check removal and washing instructions |
| A full interior clean | Prepare adequate coolers or another suitable cold location | Plan drying and reassembly before emptying |
| A recalled-food event | Follow the relevant food-safety instructions | Ordinary cosmetic cleaning may not be sufficient |
Before You Start
Choose a time when the refrigerator is not extremely full. Gather a few simple supplies:
- Microfiber cloths
- Warm water
- Mild dish soap
- A small bowl or bucket
- Trash or recycling bag
- A soft brush or toothbrush for narrow edges
- A clean towel for drying
Avoid strong or abrasive products unless the manufacturer specifically recommends them for your refrigerator.
Step 1: Remove Old or Unwanted Food
Start by checking containers, produce drawers, condiments, and leftovers. Use appropriate food-safety guidance to decide what must be discarded. Do not taste food to assess its safety, and follow recall instructions for affected items.
Review duplicate packages before shopping again. Keep food identity, storage instructions and safety information available; do not mix uncertain leftovers or other foods to simplify storage.
Step 2: Work One Shelf at a Time
Instead of emptying the entire refrigerator at once, work section by section. Remove the food from one shelf, clean it, dry it, and return the food before moving to the next area.
This keeps perishable food out of the refrigerator for less time and makes the project feel easier.
Step 3: Remove Shelves and Drawers If Appropriate
If your refrigerator has removable shelves or drawers, check the manual before washing them. Some glass shelves should warm to room temperature before being exposed to warmer water because sudden temperature changes can damage glass.
Wash removable parts with mild soap and water if permitted, rinse them, and dry them completely before reinstalling.
Step 4: Wipe Interior Walls and Shelf Supports
Use a damp microfiber cloth to wipe the interior walls, shelf supports, and corners. Pay special attention to sticky areas and dried spills.
For stubborn residue, place a damp cloth over the spot for a few minutes before wiping instead of immediately scrubbing aggressively.
Step 5: Clean the Door Bins
Refrigerator doors often collect sticky condiment residue. Remove bottles and jars, wipe the bins, and clean the bottoms of containers before putting them back.
Door bins are also a good place to remove duplicates you no longer need.
Step 6: Clean Produce Drawers
Produce drawers can collect leaves, crumbs, and moisture. Empty them completely and wipe every surface, including the rails and area underneath.
Dry the drawers before returning produce so extra moisture does not remain trapped.
Step 7: Check the Drip and Spill Areas
Some refrigerators have channels, grooves, or recessed areas where small spills collect. Use a soft brush or cloth to clean these areas gently.
If you notice persistent water accumulation or an unusual leak, consult the appliance manual or an appropriate service professional.
Step 8: Wipe Containers Before Returning Them
Cleaning the refrigerator is much more effective if you do not return sticky bottles and containers to freshly cleaned shelves. Give the bottoms and sides a quick wipe before putting them back.
Step 9: Organize Food by Simple Zones
You do not need an elaborate system. A few basic zones make the refrigerator easier to use:
- Ready-to-eat foods together
- Condiments grouped in door bins
- Produce in designated drawers
- Leftovers in one visible area
- Frequently used items at eye level
Keep food-safety guidance in mind when choosing where to place raw ingredients and ready-to-eat foods.
Step 10: Clean the Exterior
Wipe the handles, door front, and top edge if accessible. For stainless steel or specialty finishes, use a method approved by the manufacturer.
How to Reduce Refrigerator Odors
Most odors improve when the actual source is removed. Check for:
- Old leftovers
- Leaking produce
- Spilled milk or sauces
- Open strong-smelling foods
- Damp drawer liners or cloths
Do not rely only on fragrance products to cover a persistent odor.
A Quick Weekly Refrigerator Reset
A short weekly check can prevent the refrigerator from becoming a major project:
- Discard old leftovers.
- Wipe one visible spill.
- Check produce drawers.
- Move foods that should be used soon to the front.
- Wipe one crowded door bin if needed.
How Often Should You Deep-Clean a Refrigerator?
There is no single schedule for every household. A refrigerator used by a large family may need more frequent attention than one used by one or two people. The best approach is to wipe spills immediately and perform a deeper clean whenever shelves, drawers, or odors show that it is needed.
Close the food-storage loop
FoodSafety.gov recommends a refrigerator temperature of 40°F or below. Use a suitable thermometer to check the storage temperature, and follow its time-and-temperature guidance for perishables during the project. Cleaning is not a way to make spoiled or recalled food safe.
Return food only after removable parts are dry and correctly installed. Keep raw ingredients contained to prevent leaks onto ready-to-eat foods, and make leftovers easy to find. Photograph persistent water accumulation before requesting service so the location is clear.
Sources and further guidance
Browse more practical Tidy Home Lab guides for this part of your home.
Explore Cleaning →Related Guides