Clean Baseboards by Removing Loose Dust Before Wiping
Baseboards are easier to clean when loose dust is removed before moisture is added. Check whether the trim is painted wood, stained wood, vinyl or another material, then choose a gentle method compatible with that finish.
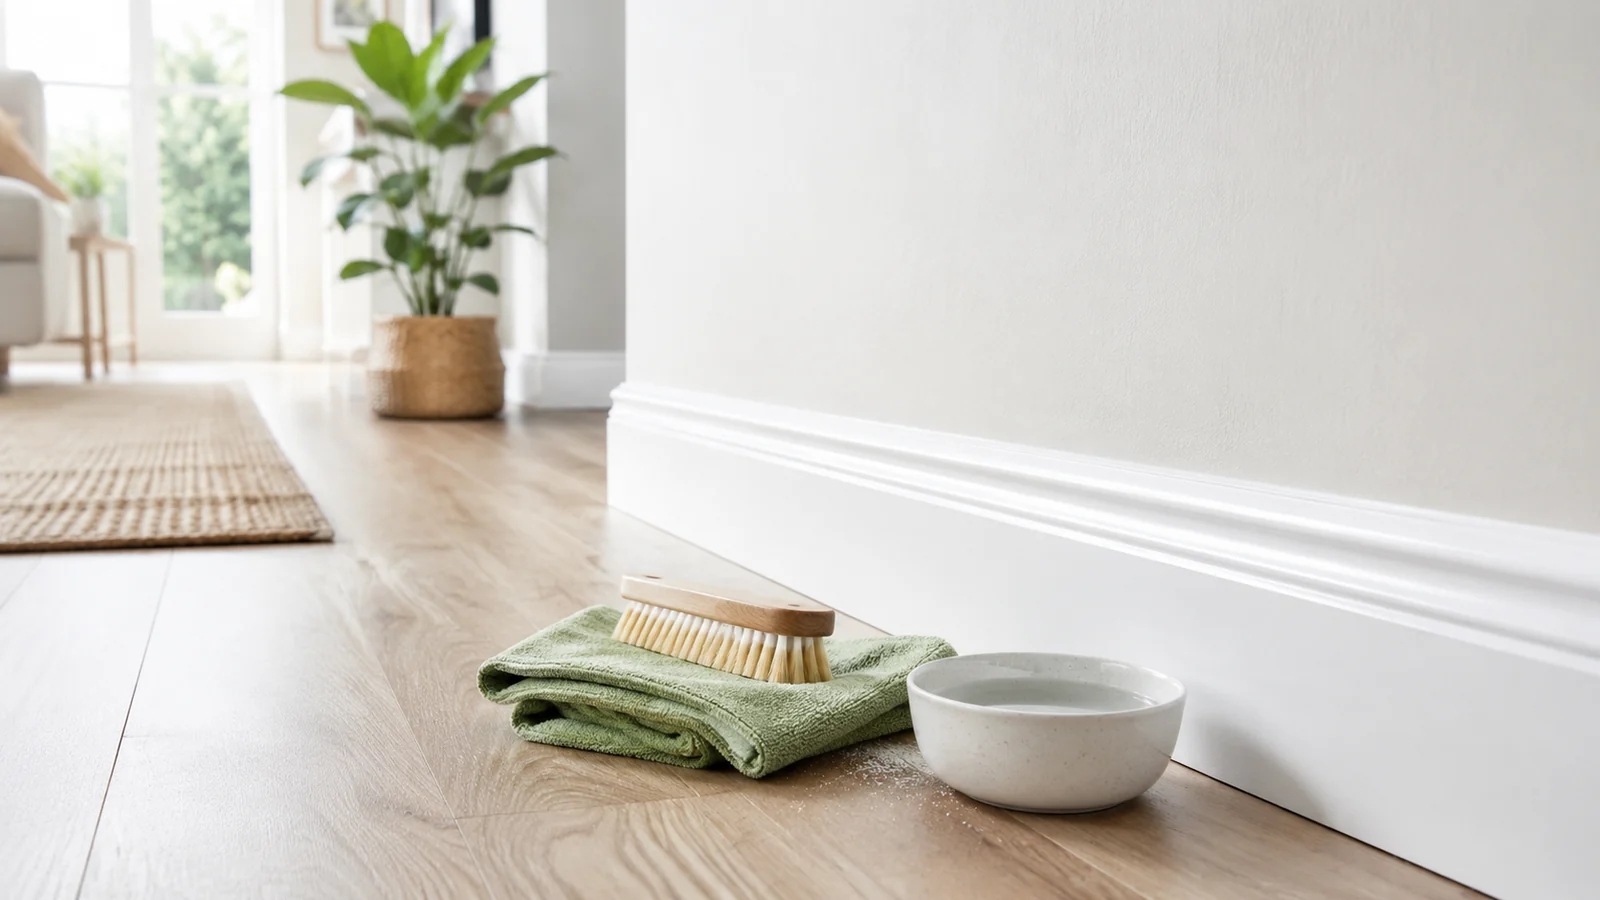
Baseboards are easier to clean when loose dust is removed before moisture is added. Check whether the trim is painted wood, stained wood, vinyl or another material, then choose a gentle method compatible with that finish.
Identify the mark before working along the wall
| What is on the baseboard | First action | Watch for |
|---|---|---|
| Loose dust or hair | Use a soft brush or vacuum attachment | Scratching from grit caught in the tool |
| Ordinary surface grime | Lightly damp compatible wiping | Water collecting at joints or damaged finish |
| A scuff | Check the finish’s approved method | Abrasion that changes the sheen |
| Swelling or recurring dampness | Record the location and investigate | A moisture problem hidden by repeated cleaning |
Why Baseboards Get Dirty So Quickly
Baseboards sit exactly where floor dust and air movement meet the wall. Vacuuming can push debris toward them, and shoes, furniture, vacuum cleaners, and pets can leave marks along the surface.
What You Need
- Vacuum with brush attachment or a soft duster
- Microfiber cloths
- Warm water
- Mild dish soap
- Small soft brush or old toothbrush
- Dry towel
Always test your cleaning method on a small area if the baseboards are painted, stained, or made from a specialty material.
Step 1: Vacuum the Floor Edge First
Start by vacuuming or sweeping loose debris along the floor. This prevents dirt from turning into muddy streaks when you begin wiping.
Step 2: Dust the Top Edge of the Baseboard
The narrow horizontal top ledge often holds a visible line of dust. Use a vacuum brush attachment, microfiber duster, or dry cloth to remove it.
Step 3: Work in Small Sections
Do not wet an entire wall of baseboards at once. Work in sections of a few feet so you can clean and dry each area before moving on.
Step 4: Use Mild Soapy Water
Mix a small amount of mild dish soap with warm water. Dampen a microfiber cloth and wring it out well. The cloth should be damp, not dripping.
Wipe the face of the baseboard and the top edge. Use light pressure first.
Step 5: Handle Corners and Details
Use a soft brush or toothbrush for grooves, corners, and decorative trim. Avoid soaking seams where water could reach unfinished material.
Step 6: Remove Scuff Marks Carefully
Some scuffs will come off with the damp cloth alone. For more stubborn marks, use a product that is safe for the specific paint or finish. Avoid aggressive abrasives that can make shiny spots or remove paint.
Step 7: Dry the Baseboards
Wipe the cleaned section with a dry cloth. Drying helps prevent streaks and keeps moisture from sitting along edges.
How to Clean Baseboards in a Carpeted Room
Use extra care with moisture near carpet. Vacuum the carpet edge first, then use a well-wrung cloth. A dry towel placed along the carpet edge can help protect it while you work.
How to Clean Baseboards in a Kitchen
Kitchen baseboards may collect grease in addition to dust. Mild soap is often enough for routine buildup, but always choose a product suitable for the finish.
How to Clean Baseboards in a Bathroom
Bathroom baseboards may collect hair, dust, and moisture. Keep an eye out for damaged caulk, swelling, or persistent moisture that may indicate a larger issue.
A Fast Baseboard Routine
If you do not want to clean every baseboard in the house at once, rotate rooms:
- Week 1: living areas
- Week 2: bedrooms
- Week 3: kitchen and dining areas
- Week 4: bathrooms and hallway
How to Keep Baseboards Cleaner Longer
- Vacuum floor edges regularly.
- Wipe spills and scuffs when you notice them.
- Dust before mopping.
- Keep furniture from repeatedly rubbing against trim when possible.
Common Mistakes
- Using too much water
- Skipping dry dusting first
- Scrubbing painted surfaces too aggressively
- Cleaning the baseboards before the room is dusted
Work in a short, reachable section
Clear the area beside the trim and protect adjacent flooring as appropriate. Fold the cloth to a clean face frequently so you are lifting dirt rather than spreading a gray line along the wall. Avoid soaking seams or rubbing flaking paint.
Let the section dry, then look from a normal standing distance before continuing. You may only need ordinary dust removal in most of the room. Do not move heavy furniture alone just to reach a small hidden length of trim.
Browse more practical Tidy Home Lab guides for this part of your home.
Explore Cleaning →Related Guides