Declutter a Garage by Closing One Safe Zone at a Time
Garage decluttering needs a clear working route and a plan for the items that must leave. Choose one bounded zone, identify hazardous or unfamiliar materials early and keep doors, equipment and access points usable throughout the session.
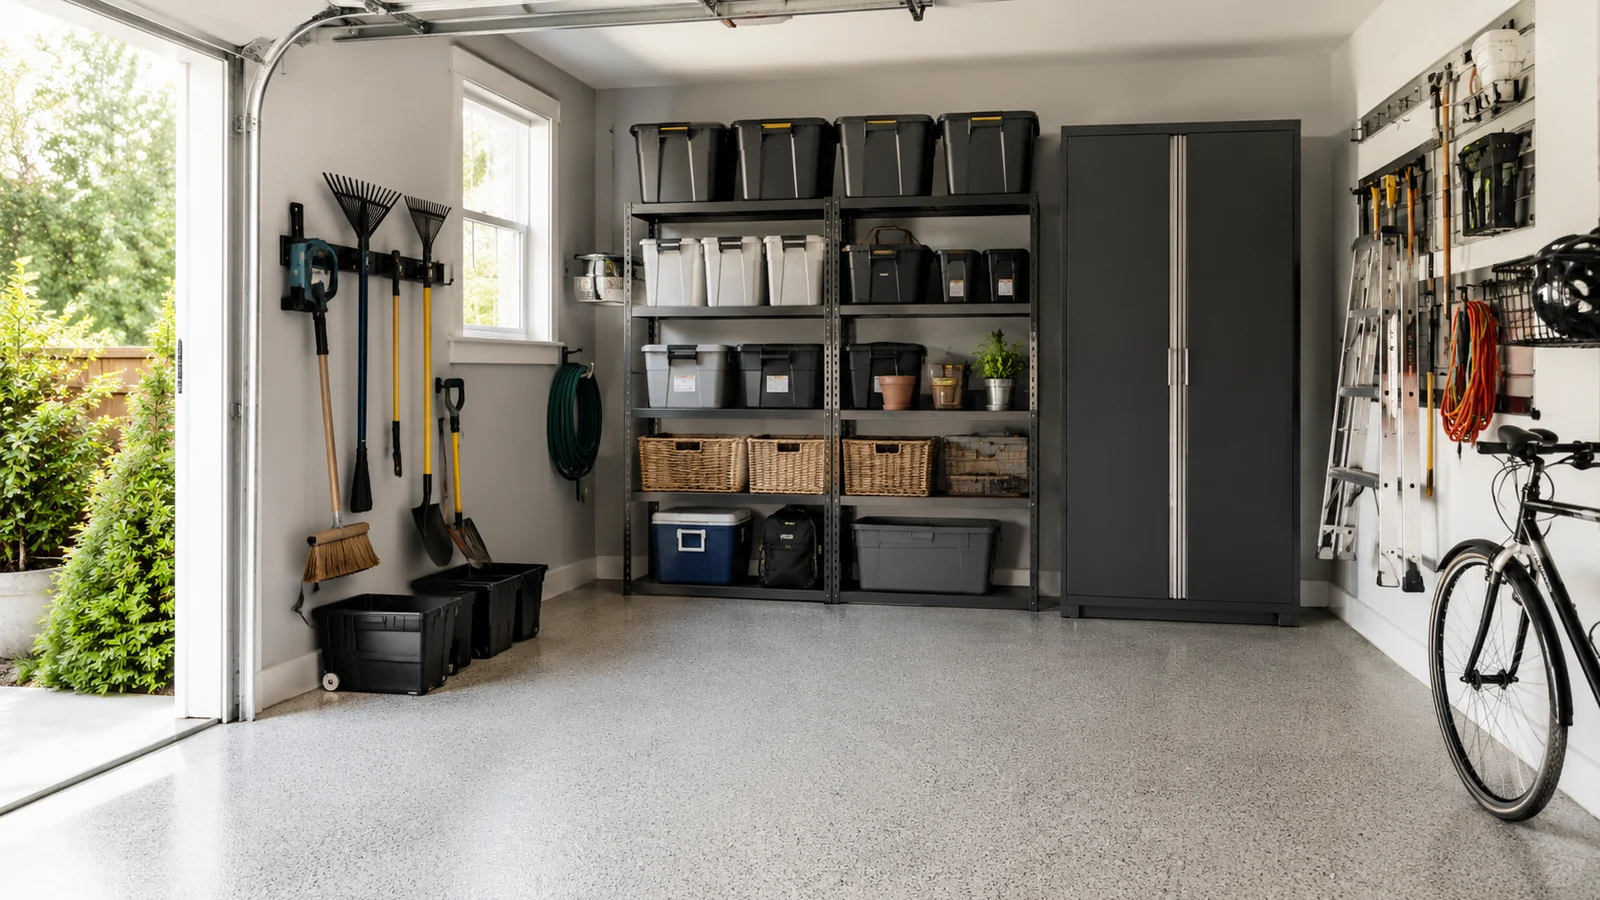
Garage decluttering needs a clear working route and a plan for the items that must leave. Choose one bounded zone, identify hazardous or unfamiliar materials early and keep doors, equipment and access points usable throughout the session.
Separate ordinary sorting from special handling
| Item group | Sorting decision | Additional check |
|---|---|---|
| Working tools and equipment | Keep in a useful category | Safe storage and manufacturer requirements |
| Bulky unwanted objects | Arrange a suitable exit | Collection or recipient requirements |
| Chemicals and unknown containers | Keep identity and original packaging | Local hazardous-waste guidance |
| Shared or borrowed belongings | Set aside for the owner’s decision | Ownership and return arrangements |
Step 1: Clear a Safe Working Area
Start near the entrance or another accessible area. Remove obvious trash and create enough open floor space to sort a small category safely.
Step 2: Choose One Zone
Pick one shelf, wall, corner, or category. Do not jump between several areas.
Step 3: Use Four Decisions
- Keep in garage
- Move elsewhere
- Donate or sell
- Dispose appropriately
Step 4: Group Similar Items
Once obvious excess is removed, create broad zones such as tools, garden equipment, sports gear, automotive items, seasonal decorations, and household backup supplies.
Step 5: Keep the Floor as Open as Possible
Use wall hooks, shelving, and sturdy storage units where appropriate. Open floor space improves access and makes sweeping or maintenance easier.
Step 6: Put Heavy Items Low
Store heavier containers and equipment on lower shelves. Keep lightweight, less-used items higher only when the shelving system is designed to hold them securely.
Step 7: Handle Chemicals and Hazardous Materials Carefully
Paint, fuel, pesticides, automotive fluids, batteries, and other hazardous products need appropriate storage and disposal. Keep original labels, follow product instructions, protect them from children and pets, and use local hazardous-waste guidance rather than placing unknown chemicals in regular trash.
Step 8: Label Closed Bins
A simple label prevents you from opening multiple boxes to find one item. Use broad labels such as “holiday lights,” “camping,” or “car care.”
Step 9: Create a Donation Exit
Do not leave donation items in the garage indefinitely. Put them near the exit and set a specific day to remove them.
Step 10: Stop Before You Are Exhausted
Garage decluttering can take several sessions. A completed shelf is better than an entire garage pulled apart with no energy left to finish.
A Simple Maintenance Rule
When something new enters the garage, decide which zone it belongs to immediately. If no zone exists, ask whether the item genuinely needs to stay.
Avoid building a removal pile that blocks the garage
Arrange collection or transport before sorting out more than you can temporarily hold safely. Place ordinary donations together and label what is awaiting another person. Heavy items belong in appropriately rated storage, with safe handling rather than improvised lifting.
Leave a visible boundary for the next session. A single finished shelf is a useful result if the garage can still be used normally. Do not mix chemicals, transfer unidentified products or treat electrical and mechanical equipment as ordinary household waste without appropriate guidance.
Browse more practical Tidy Home Lab guides for this part of your home.
Explore Decluttering →Related Guides